
If you are connected to eLearning in any way, you probably have heard a lot about micro-learning. There is a lot being discussed in conferences, blogs, online forums and webinars on how to create effective micro-learning to meet millennials’ learning requirements. When talking about micro-learning, most of us often think of videos, podcasts or simple text and image slide shows. How about creating an interactive micro-learning modules? Well, it may sound like a huge task to infuse interactivity into a micro-learning burst. But it’s not as difficult and time-consuming as it sounds. I recently created an interactive mini-module and would like to share the experience with you.
One of my colleagues, Sonia, had written an interesting blog on “Why Stories Matter” to make learning more impactful and engaging. It inspired me to create a mini-module on how storytelling can be used as an effective instructional strategy. The objective of this module is to help an instructional designer/trainer/educator to get started with using storytelling in their instructions. To keep the module simple and brief, I planned to include an introduction to storytelling, a brief on how to create stories and some tips for effective storytelling.
After creating and chunking the content based on the learning objective, I turned to Raptivity, a rapid interactivity building tool, for the actual development of the module. I chose five interaction templates from Raptivity that suited the content. Then, I gathered the relevant images for each interaction and started customizing the interactions in Raptivity.
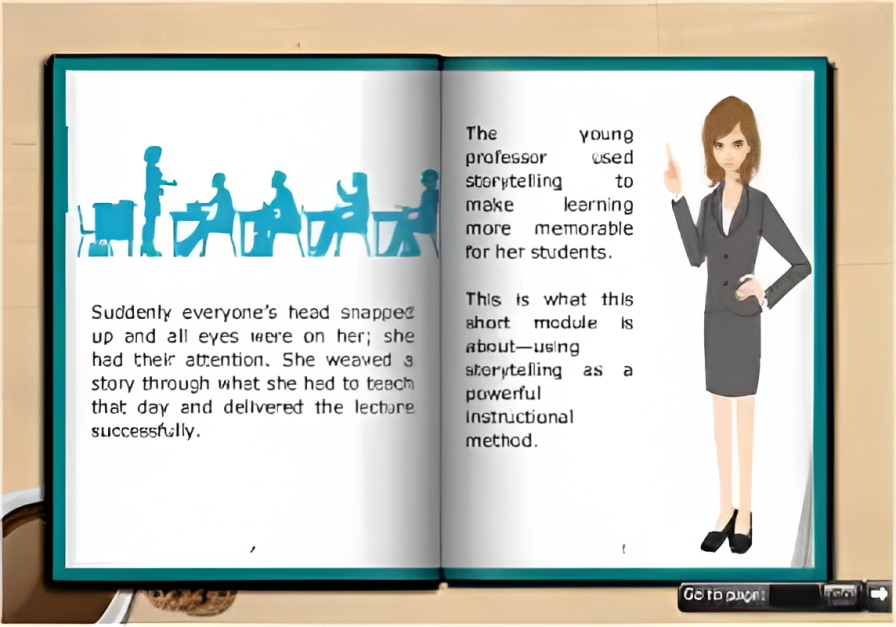
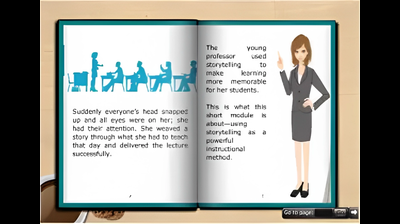
For introduction, I chose the eBook/flip book template and started with a short story to grab attention and then went on to explain what storytelling is.
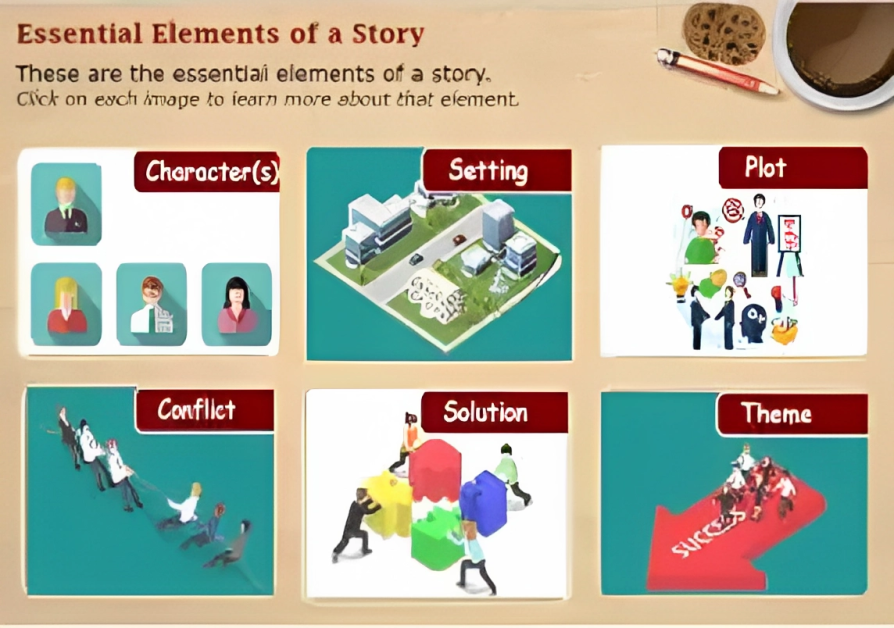
I created the second interaction using flash/flip cards template. It explained essential elements of the story, since learners could view the element names and relevant images on front side of the cards and their description on the flip side.

After knowing the story elements, the next step is to create a story comprising of those elements. The story mountain helps you plot stories in a proper format. I presented the story mountain in the third interaction using a build-up animation template. Learners can click on each part of the mountain to learn more about it.
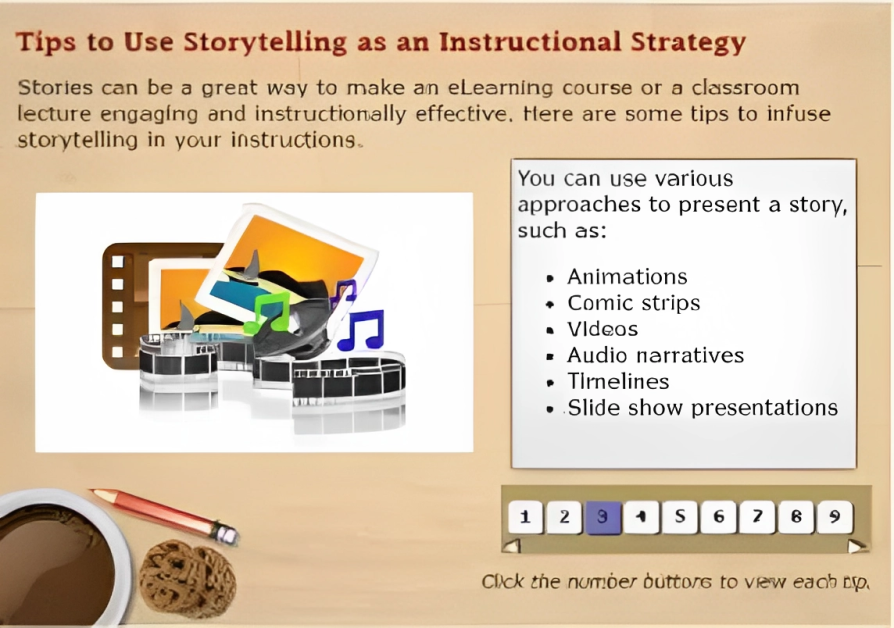
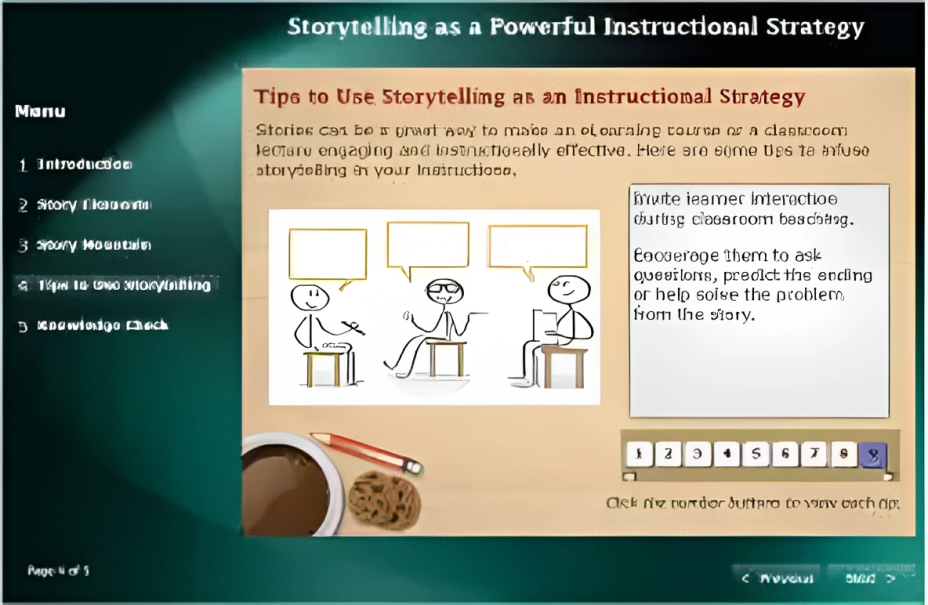
In the next interaction, I included some tips to create stories and use storytelling effectively. Here, I chose a lesson template, where tips appear with relevant images as an animation. Learners can revisit any tip by clicking on the number buttons.
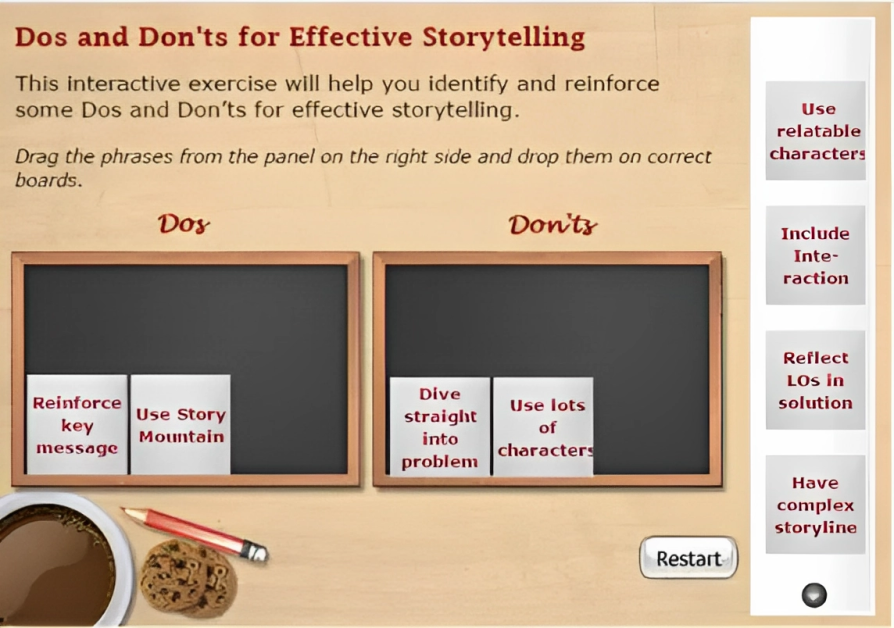
Lastly, I wanted to include some knowledge check for learners to reinforce their learning. I chose a drag and drop template, where some dos and don’ts for effective storytelling are listed and learners need to classify them correctly. Learners get immediate feedback on dropping a phrase under a wrong category.
Once the text and images were ready, it took me a couple of hours to develop each interaction. To put these interactions together as a module, I used the Raptivity Linker tool. Stringing these interactions together was just a matter of minutes and my mini-module on Storytelling was ready!
Using Raptivity and Raptivity Linker, I was able to develop this entire module, including the base content creation, in less than three days. The broad steps that I followed were:
- Decide on the learning objective and create a topic outline.
- Create and chunk the text into small information bursts.
- Choose interaction templates that best suit the text chunks.
- Gather/create relevant media assets according to chosen templates.
- Customize interaction templates using the text and media assets.
- String the interactions together. Alternatively, these interactions can also be used as standalone learning nuggets.
This approach could be a good way to quickly create micro-learning that offers streamlined, short bits of information along with interactivity and engagement. Have you created micro-learning? What approach did you follow and how easy or difficult it was to create it? Share your thoughts and experiences in the comments below.


